




How to install sound absorbing sponge?
 Sep 22, 2026|
 Installing sound absorbing sponge can significantly improve the acoustic environment in various spaces, from home studios to industrial facilities. As a sound absorbing sponge supplier, I've had the privilege of helping numerous customers transform their spaces with effective sound absorption solutions. In this blog, I'll guide you through the process of installing sound absorbing sponge, step by step.
Understanding Sound Absorbing Sponge
Before we dive into the installation process, it's important to understand what sound absorbing sponge is and how it works. Sound absorbing sponge is a porous material designed to reduce sound reflections and echoes in a room. It does this by converting sound energy into heat energy as the sound waves pass through the sponge's pores. This helps to create a more acoustically balanced environment, making it ideal for spaces where noise control is important.
There are different types of sound absorbing sponges available, each with its own unique properties and applications. Some common types include open-cell foam, which is highly porous and effective at absorbing a wide range of frequencies, and closed-cell foam, which is more resistant to moisture and can be used in damp environments.
Preparing for Installation
The first step in installing sound absorbing sponge is to prepare the surface where it will be installed. This involves cleaning the surface thoroughly to remove any dust, dirt, or debris. You can use a mild detergent and water to clean the surface, and then dry it completely before proceeding.
Next, measure the area where you want to install the sound absorbing sponge. This will help you determine how much sponge you need to purchase. Make sure to measure the length, width, and height of the area, and then calculate the total square footage. You can use this information to order the appropriate amount of sound absorbing sponge from our website Sound Absorbing Sponge.
Choosing the Right Adhesive
Once you have the sound absorbing sponge and have prepared the surface, the next step is to choose the right adhesive. There are several types of adhesives available, including spray adhesives, contact adhesives, and double-sided tape. The type of adhesive you choose will depend on the type of surface you are installing the sponge on and the specific requirements of your project.
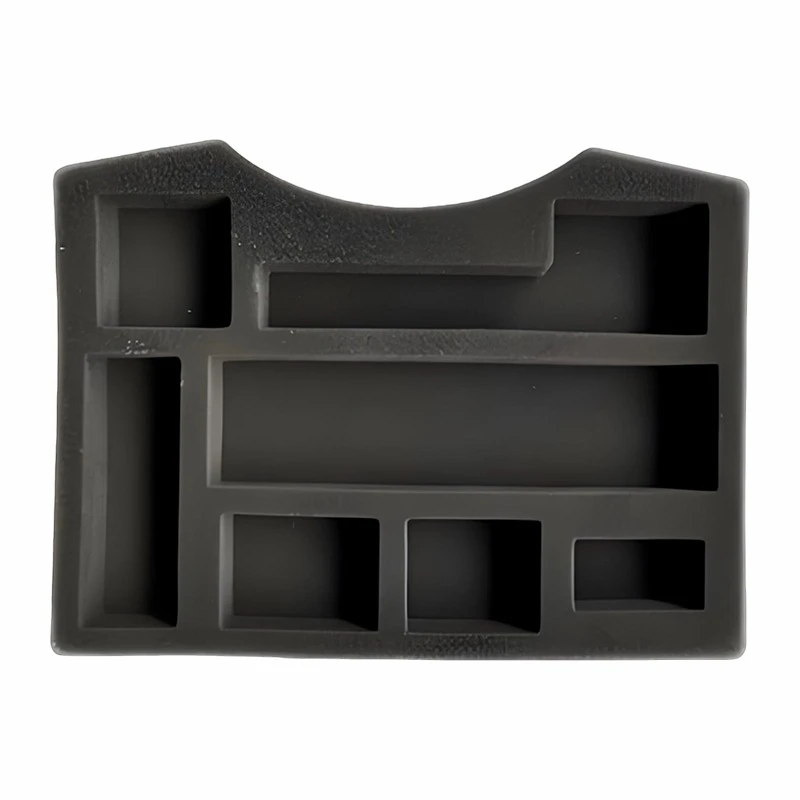

Spray adhesives are easy to use and provide a strong bond. They are ideal for large surfaces and can be applied quickly. Contact adhesives are also a popular choice, as they provide a strong and permanent bond. However, they require careful application and can be messy. Double-sided tape is a convenient option for smaller projects or for temporary installations.
Installing the Sound Absorbing Sponge
Now that you have everything you need, it's time to start installing the sound absorbing sponge. Here's a step-by-step guide to help you through the process:
- Cut the sponge to size: Use a sharp utility knife or scissors to cut the sound absorbing sponge to the appropriate size and shape. Make sure to measure twice and cut once to ensure a precise fit.
- Apply the adhesive: If you are using a spray adhesive, apply it evenly to the back of the sponge and the surface where it will be installed. If you are using a contact adhesive, apply it to both the sponge and the surface and let it dry for a few minutes until it becomes tacky. If you are using double-sided tape, simply peel off the backing and stick the sponge to the surface.
- Press the sponge into place: Once the adhesive is dry or tacky, carefully place the sponge on the surface and press it firmly into place. Use a roller or a flat object to ensure that the sponge is fully adhered to the surface.
- Trim the edges: Use a sharp utility knife or scissors to trim any excess sponge from the edges. Make sure to cut the edges cleanly and smoothly for a professional look.
- Repeat the process: If you are installing multiple pieces of sound absorbing sponge, repeat the process for each piece until the entire area is covered.
Tips for a Successful Installation
Here are some tips to help you ensure a successful installation of sound absorbing sponge:
- Work in a well-ventilated area: When using adhesives, make sure to work in a well-ventilated area to avoid inhaling fumes.
- Follow the manufacturer's instructions: Always follow the manufacturer's instructions when using adhesives and other products.
- Use a straight edge: When cutting the sponge, use a straight edge to ensure a straight and clean cut.
- Take your time: Installing sound absorbing sponge can be a time-consuming process, so take your time and do it right.
- Test the adhesive: Before applying the adhesive to the entire surface, test it on a small area to make sure it adheres properly and does not damage the surface.
Other Applications of Sponge Products
In addition to sound absorption, our sponge products have a wide range of other applications. For example, our Gardening Absorbent Foam is ideal for retaining moisture in the soil and providing a stable environment for plant growth. Our Packing Cushion Foam is perfect for protecting fragile items during shipping and storage.
Contact Us for Purchasing
If you're interested in purchasing sound absorbing sponge or any of our other sponge products, we'd love to hear from you. Our team of experts can help you choose the right product for your needs and provide you with detailed installation instructions. Whether you're a professional installer or a DIY enthusiast, we're here to support you every step of the way.
Contact us today to discuss your requirements and get a quote. We look forward to working with you to create a more acoustically balanced and comfortable environment.
References
- "Acoustics for Dummies" by Jeff and Lisa Davidson
- "Soundproofing Your Home" by Rod Gervais
- Manufacturer's instructions for sound absorbing sponge and adhesives